
 By fuyuhuaxue@iumrs.com
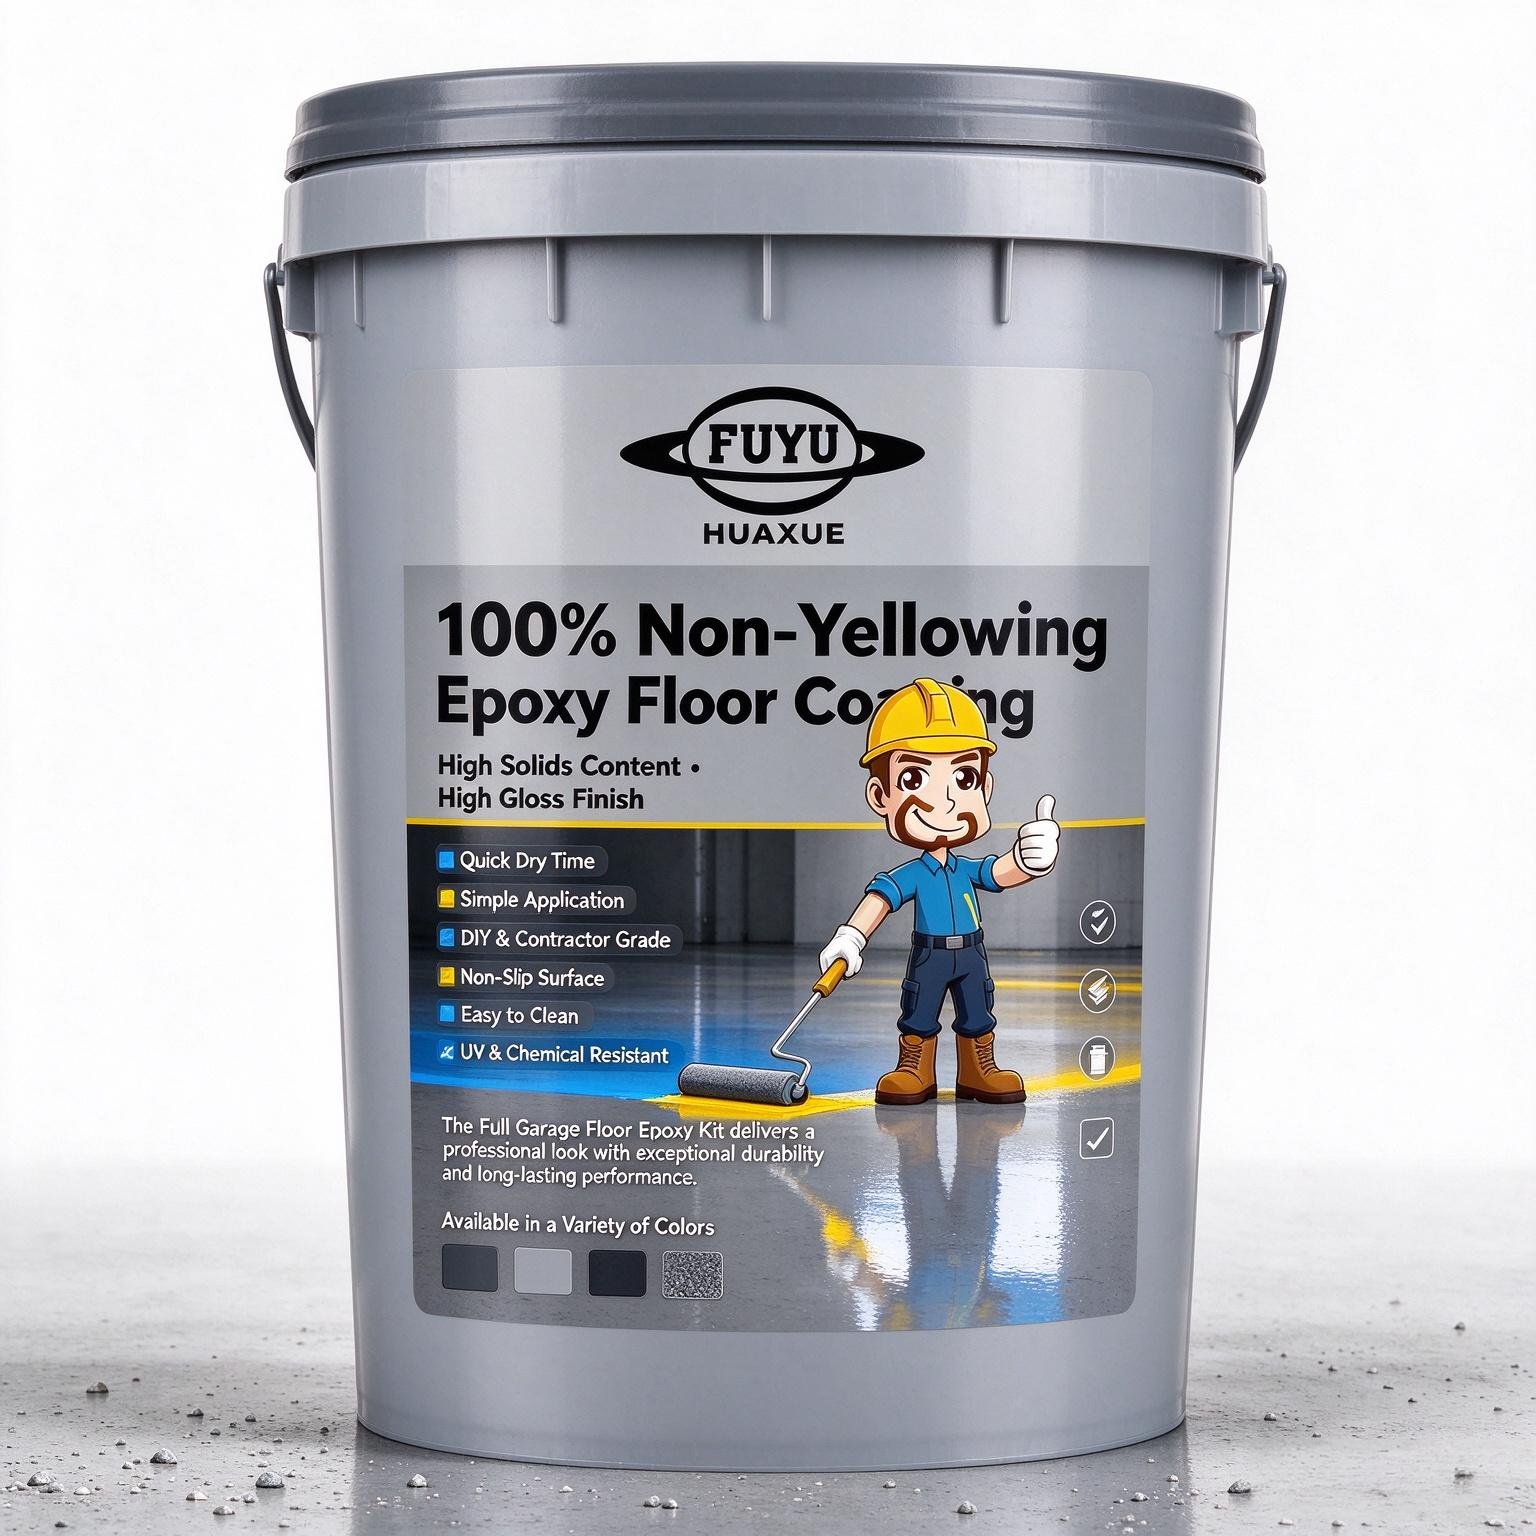
Your garage floor takes a beating. It endures hot tires, oil drips, chemical spills, heavy tool drops, and years of foot traffic. Yet, for most homeowners, it remains the most neglected surface in the entire house. Bare concrete is porous, dusty, and prone to staining. It cracks, chips, and fades. And no matter how many times you sweep it, it never truly looks clean.
But what if you could change all of that in a single weekend? What if you could turn that tired, stained slab into a glossy, durable, professional-grade floor that looks like it belongs in a high-end auto shop or a modern showroom? That is exactly what the Garage Floor Coating and Epoxy Kit is designed to do. This all-in-one kit includes everything you need for a DIY application, from the high-build epoxy primer to the mixing tool, application tools, your choice of paint chips, and detailed instructions. With a 100% solids, pigmented epoxy formula, this kit delivers a finish that is not only stunning but also incredibly tough.
Whether you are a weekend warrior looking to upgrade your home garage or a contractor seeking a reliable, fast-curing solution for a client’s commercial space, this epoxy floor coating kit offers the perfect blend of performance, convenience, and value. Let’s explore why this kit is quickly becoming the go-to choice for anyone who wants a durable, beautiful, and easy-to-maintain floor.
Why Epoxy? The Unbeatable Benefits of a Coated Garage Floor
Before diving into the specifics of the kit, it is worth understanding why epoxy flooring has become the gold standard for garages, basements, workshops, and industrial spaces. Epoxy is a thermosetting resin that, when mixed with a hardener, creates a rigid, plastic-like material that bonds tenaciously to concrete. Unlike paint, which simply sits on the surface, epoxy penetrates and seals the concrete, forming a monolithic layer that is incredibly strong.
The benefits are numerous. First, durability. A high-quality epoxy floor can withstand years of abuse without showing signs of wear. It resists scratches, impacts, and abrasions. Second, chemical resistance. Oil, gasoline, antifreeze, bleach, and most household chemicals will not damage a properly cured epoxy floor. Third, easy cleanup. Because the surface is non-porous, spills wipe up effortlessly. No more scrubbing stubborn oil stains. Fourth, aesthetics. Epoxy provides a high-gloss, seamless finish that instantly upgrades the look of any space. With decorative paint chips, you can add texture and hide imperfections, creating a floor that looks professionally installed.
Finally, epoxy is cost-effective. When compared to the cost of professional installation or the expense of replacing a damaged concrete slab, a DIY epoxy kit is a fraction of the price. And with a kit that includes all the necessary tools and materials, there are no hidden costs or last-minute trips to the hardware store.
What’s Inside the Kit? Everything You Need for a Flawless Finish
One of the biggest barriers to DIY epoxy projects is the confusion over what to buy. Do you need a primer? Which rollers? What about mixing buckets? How much epoxy? The Garage Floor Coating and Epoxy Kit eliminates all that guesswork. It is a complete system that arrives at your door with everything required to get the job done right.
The kit includes a high-build epoxy primer, which is crucial for achieving maximum adhesion and a uniform base. It also comes with a mixing tool to ensure the epoxy and hardener are blended thoroughly, as well as application tools such as rollers, brushes, and spike shoes (depending on the specific kit configuration). You also get your choice of paint chips, allowing you to customize the look of your floor. And, of course, detailed application instructions are included, guiding you step-by-step from surface preparation to final cure.
The star of the kit is the 100% solids pigmented epoxy. Unlike solvent-based or water-based epoxies that contain volatile organic compounds (VOCs) and shrink as they cure, 100% solids epoxy contains no solvents. This means that every drop of the mixed product stays on the floor, creating a thicker, more durable film. It also means lower odor and better coverage. The pigmented formula provides a rich, opaque color that won’t fade or yellow over time. And because it is non-yellowing, it is suitable for areas exposed to sunlight, such as garage doors or sunrooms.
The kit comes in a variety of colors, so you can match your floor to your home’s aesthetic or your business’s branding. Whether you prefer a classic gray, a bold red, a sleek black, or a custom blend, there is a color option for you.
The Science of 100% Solids Epoxy: Why It Outperforms the Rest
Not all epoxy is created equal. Many budget kits use solvent-based or water-based formulas that are thinner and less durable. They may be easier to apply, but they often require multiple coats and can still peel or hot-tire lift. The Garage Floor Coating and Epoxy Kit uses a 100% solids epoxy, which is the same type of material used in industrial and commercial applications.
High solids content means the epoxy is thicker and more robust. When cured, it forms a dense, impermeable barrier that resists moisture, chemicals, and impact. It also has a longer pot life and better self-leveling properties, resulting in a smoother finish. Because there are no solvents to evaporate, the film thickness is consistent and predictable. This is why 100% solids epoxy is the preferred choice for auto shops, service centers, warehouses, and laboratories.
Another key feature is the non-yellowing formula. Cheaper epoxies often contain aromatic amines that cause the floor to turn yellow when exposed to UV light. This is especially problematic in garages with windows or open doors. The non-yellowing epoxy in this kit uses aliphatic amines, which resist yellowing and keep the floor looking fresh for years. Combined with high UV resistance, the finish will not chalk, fade, or discolor, even in sun-drenched spaces.
The high-gloss finish is another standout. It reflects light, making the space brighter and more inviting. It also gives the floor that “wet look” that is characteristic of professional installations. And because the surface is non-slip, thanks to the addition of paint chips or optional anti-slip additives, it is safe even when wet. The paint chips also serve a dual purpose: they add decorative appeal and improve traction.
DIY-Friendly Application: No Professional Skills Required
Perhaps the most compelling aspect of this kit is how easy it is to use. The manufacturer has designed the entire process to be accessible to beginners. The kit includes all the tools, and the instructions are clear and concise. You do not need to be a flooring expert or have prior experience with epoxy. If you can mix, pour, and roll, you can achieve a professional-looking floor.
The fast dry time is a major advantage for DIYers. The epoxy has a quick tack-free time of around 2 hours, meaning you can walk on it (with clean, soft-soled shoes) after just a couple of hours. This allows you to apply multiple coats in a single day if needed. Full cure takes 72 hours, after which the floor is ready for heavy use, including parking cars and moving equipment. This quick turnaround means less disruption to your life or business.
The application process typically involves four main steps: surface preparation, priming, applying the epoxy, and broadcasting the paint chips. Surface preparation is critical for adhesion. You will need to clean the concrete thoroughly, remove any oil or grease, and etch the surface to create a profile. The kit’s high-build epoxy primer helps to seal the concrete and promote a strong bond. Once the primer is dry, you mix the epoxy resin and hardener according to the instructions, pour it onto the floor, and spread it evenly with a roller. While the epoxy is still wet, you broadcast the paint chips to create the desired texture and color blend. After the epoxy cures, you may apply a clear topcoat if desired (though this kit’s epoxy is durable enough to stand alone in many applications).
Because the kit is complete, you don’t have to worry about compatibility issues between different products. Everything is designed to work together, ensuring a seamless, durable finish.
Performance That Lasts: UV, Chemical, and Wear Resistance
When you invest in a floor coating, you want it to last. The Garage Floor Coating and Epoxy Kit is engineered for long-term performance. The 100% solids epoxy is highly resistant to chemicals, including salts, oils, antifreeze, and mild acids. This makes it ideal for automotive environments where spills are common. It is also resistant to hot tire pickup, a common problem with cheap epoxy coatings that soften under the heat of tires and peel away. This kit’s high-gloss finish remains intact even after years of parking.
UV resistance is another critical factor. Many epoxies yellow and fade when exposed to sunlight. This kit uses a non-yellowing formula that maintains its color and clarity. Whether your garage faces south or you have large windows, the floor will stay looking new. The finish is also fade-proof, so the color you choose today will be the color you see in five years.
Wear resistance is equally impressive. The epoxy forms a hard, scratch-resistant surface that can handle dropped tools, heavy foot traffic, and rolling carts. It is also easy to clean. A damp mop or a quick sweep is usually all that is needed. No waxing, no special cleaners, no touch-ups. The floor maintains its professional look with minimal effort.
Nearly Unlimited Applications: From Garages to Aircraft Hangars
While the name suggests it is for garages, this epoxy kit is versatile enough for a wide range of environments. Common applications include:
- Garage and Basement Floors: The most popular use. Transform a dusty, stained concrete slab into a clean, bright, and durable surface.
- Auto Shops and Service Centers: Withstand oil, grease, jacks, and heavy tools. The glossy finish makes it easy to spot dropped screws and keeps the shop looking professional.
- Warehouses: High-traffic areas benefit from the abrasion resistance and easy cleanup. The non-slip surface improves safety.
- Laboratories: Chemical resistance is essential. The seamless surface prevents bacterial growth and is easy to sterilize.
- Aircraft Hangars: The floor must resist fuel, oil, and heavy equipment. The UV stability is important for hangars with large doors.
- Cafeterias and Commercial Kitchens: The non-porous surface is hygienic and easy to clean, meeting health department standards.
- Retail Spaces and Showrooms: The high-gloss finish adds a touch of elegance and reflects light, making products look better.
In short, if you have a concrete floor that needs protection and a facelift, this epoxy kit can handle it. The 200-250 square foot coverage per kit is enough for an average one-car garage, making it a convenient size for most residential projects. For larger spaces, simply purchase multiple kits.
Coverage and Value: A Smart Investment
A single kit covers 200 to 250 square feet, which is roughly the size of a standard one-car garage. This coverage is based on the recommended film thickness. For best results, the manufacturer suggests applying the epoxy in two coats, which ensures uniform coverage and maximum durability. The kit includes enough primer and epoxy to complete the job, so you won’t run out halfway through.
When you compare the cost of this kit to the price of hiring a professional installer, the savings are substantial. Professional epoxy flooring can cost several dollars per square foot, often totaling thousands of dollars for a typical garage. This DIY kit delivers comparable results for a fraction of the price. Plus, because the kit includes all the tools, you save even more by not having to buy rollers, brushes, mixing buckets, and spike shoes separately.
The long-term value is even more compelling. A properly applied epoxy floor can last 10 to 20 years or more with minimal maintenance. It protects the underlying concrete from cracks and stains, extending the life of your slab. It increases the resale value of your home by improving the appearance and functionality of the garage. And it reduces cleaning time and costs. When you factor in all these benefits, the kit pays for itself many times over.
Step-by-Step: How to Apply the Kit for Best Results
While the kit includes detailed instructions, here is a quick overview of the process to give you an idea of what to expect:
- Prepare the Surface: Clear the garage. Remove all items. Sweep and vacuum thoroughly. Repair any cracks or holes with a concrete patch. Clean oil stains with a degreaser. Etch the concrete using a concrete etcher (often included or available separately) to open the pores. Rinse and allow to dry completely.
- Prime: Mix the high-build epoxy primer according to the instructions. Apply an even coat using a roller. Allow it to dry until tacky but not wet.
- Mix the Epoxy: Combine the resin and hardener in the provided mixing bucket. Stir for the specified time until fully blended. Do not mix more than you can apply within the pot life.
- Apply the Epoxy: Pour the mixed epoxy onto the floor in sections. Spread it with a squeegee or roller, working it into the primer. Maintain a consistent thickness. Work quickly but carefully.
- Broadcast Paint Chips: While the epoxy is still wet, scatter the paint chips over the surface. You can use a hand broadcaster or simply toss them by hand. The chips will stick to the epoxy and create a textured, decorative finish.
- Allow to Cure: Wait for the tack-free time (about 2 hours) before walking on the floor. Full cure takes 72 hours. During this time, keep the area free of traffic and moisture.
- Optional Topcoat: If you want extra protection or a smoother finish, you can apply a clear topcoat after the epoxy has cured. This is optional but recommended for high-traffic areas.
With the right preparation and a little patience, you will have a floor that looks like it was installed by a pro.
Conclusion: Your Dream Garage Starts Here
Your garage is more than just a place to park your car. It is a workshop, a storage area, a gym, a man cave, or a she-shed. It deserves a floor that matches its potential. The Garage Floor Coating and Epoxy Kit offers a complete, DIY-friendly solution that delivers professional results. With 100% solids pigmented epoxy, a non-yellowing formula, high UV and chemical resistance, and a non-slip, easy-to-clean finish, it outperforms standard floor paints and budget epoxies. The kit includes everything you need—primer, tools, paint chips, and instructions—so you can get started right away. It covers 200-250 square feet, enough for a one-car garage, and cures quickly so you can get back to using your space.
Whether you are a homeowner looking to upgrade your garage or a contractor seeking a reliable product for clients, this epoxy kit is a smart investment. It saves time, money, and labor. It transforms a dull, stained slab into a glossy, durable showpiece. And it provides long-lasting protection that will keep your floor looking great for years to come. So why wait? Turn your garage into the space you have always wanted. With this kit, a beautiful, professional-grade epoxy floor is just a weekend away.